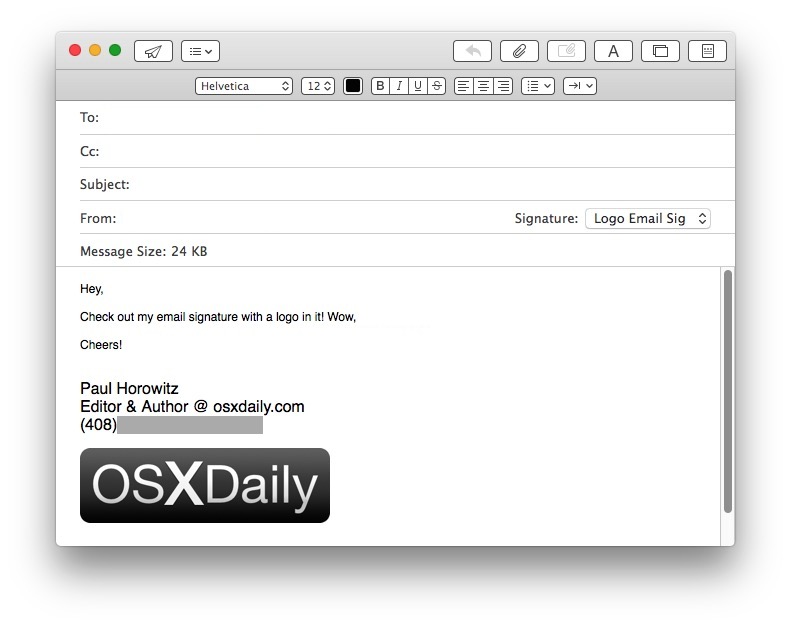
Create Mac Mail HTML Signature

When it comes to creating a professional HTML signature for Mac Mail, the goal is to craft a visually appealing and informative footer that wraps up your emails with elegance and functionality. Here’s a comprehensive guide to help you through the process, whether you’re looking to promote your personal brand, your business, or simply add a touch of personality to your emails.
Step 1: Plan Your Signature
Before diving into the HTML, take a moment to plan what you want to include in your signature. Common elements are: - Your name - Professional title - Company name (if applicable) - Contact information (email address, phone number) - Social media links (Twitter, LinkedIn, Facebook, etc.) - Website or blog link - Address (physical or postal) - A call-to-action (CTA) or a promotional message - A photo or logo
Step 2: Design Your Signature
You can either design your signature from scratch using an HTML editor or use a template as a starting point. If you’re not familiar with HTML, using a template can be a good way to begin. For simplicity, let’s start with a basic template that includes your name, title, email address, phone number, and a website link.
<div style="background-color: #f4f4f4; padding: 10px; border: 1px solid #ddd; border-radius: 5px;">
  <span style="font-weight: bold; font-size: 14px;">Your Name</span><br>
  <span style="font-size: 13px; color: #666;">Professional Title</span><br>
  <a href="mailto:your@email.com" style="text-decoration: none; color: #337ab7;">your@email.com</a> |
  <span style="color: #666;">+1 123-456-7890</span><br>
  <a href="https://yourwebsite.com" style="text-decoration: none; color: #337ab7;">Visit Our Website</a>
</div>
Step 3: Customize Your Signature
- Replace Placeholder Text: Fill in your actual details where you see placeholder text like “Your Name,” “Professional Title,” “your@email.com,” “+1 123-456-7890,” and “https://yourwebsite.com”.
- Add Social Media Links: If you want to include social media links, you can add them using the
<a>tag, similar to the email and website links. - Include a Photo or Logo: If you want to add an image, ensure it’s hosted online and use the
<img>tag with thesrcattribute pointing to the image’s URL.
<img src="https://example.com/yourphoto.jpg" width="100" height="100" style="border-radius: 50%; margin: 10px 0;" alt="Your Photo">
- Adjust Styling: Play with the CSS styles to match your preferences. You can change colors, fonts, sizes, and more to personalize your signature.
Step 4: Implement Your Signature in Mac Mail
- Create a New Signature: Open Mac Mail, go to “Mail” > “Preferences,” then click on the “Signatures” tab.
- Add a New Signature: Click the “+” button at the bottom left corner of the signatures pane.
- Paste Your HTML: If you’ve created your signature in a text editor, you can paste it directly into the “Edit Signature” field. However, Mac Mail might not directly accept HTML. Instead, you might need to use the “Photo” trick:
- Create a new email.
- Paste your HTML signature into the body of the email.
- Select the entire signature, then drag and drop it into the signatures pane in the preferences window.
- Assign Your Signature: Choose which accounts you want to use the new signature with by selecting the signature in the preferences and then choosing the account from the dropdown menu at the top of the signatures pane.
Step 5: Test Your Signature
- Send a test email to yourself or a friend to ensure your signature looks as intended. Sometimes, emails can render HTML differently, so it’s a good idea to check how it appears in various email clients.
Conclusion
Creating a professional HTML signature for Mac Mail involves a bit of planning and some basic HTML knowledge, but the end result can elevate your email communications and reinforce your personal or professional brand. If you encounter any issues or if your signature doesn’t display as expected, you might need to tweak your HTML or consult Mac Mail’s support resources for more detailed troubleshooting guides.